
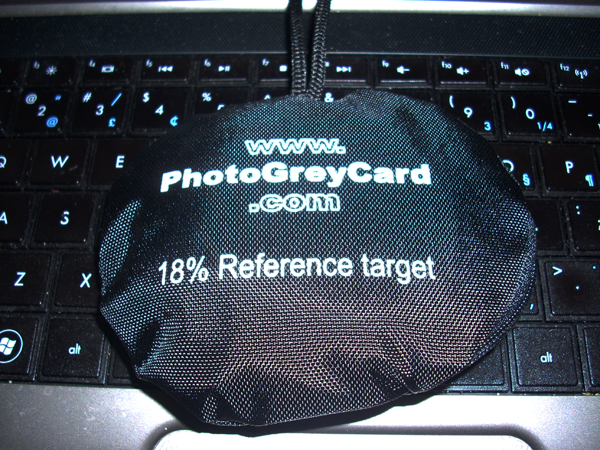
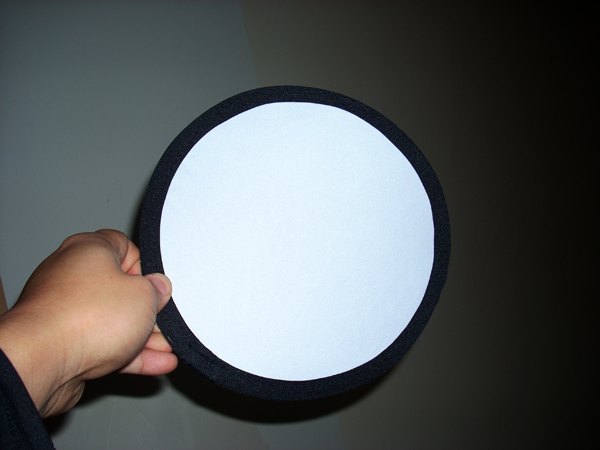
My wife bought the PhotoGreyCard.com brand of foldable grey cards. Suffice it to say, it folds up like a reflector and I can throw it in my camera backpack or bag and take it with me whereever I go. The accuracy standard for a custom white balance is an 18% reference target.
The way to use a grey card is to set your custom white balance on your camera. I'll show you how I do it for my D300s, works the same for D100, D200, D300 and D300s. The best way to learn how to set your custom white balance is to check your manual for your camera.
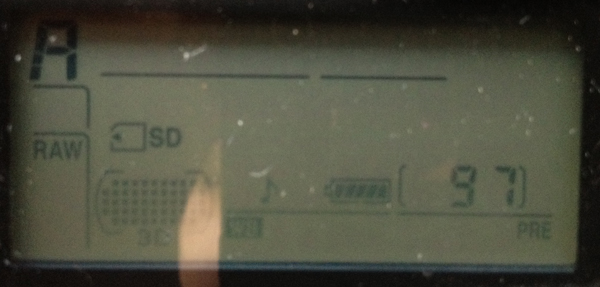
1. I first set my custom camera to PRE (Preset) on my WB menu. (photo 1) The easiest way on a D300s is to hit the white balance button on the left hand side and rotate the rear dial (you have a front and a rear dial - one to control shutterspeed, one to control aperture. The rear wheel will control multiple functions when you hit the auxiliary function buttons on the left hand side) until you see PRE on the LCD menu screen to the right of your camera hotshoe. (photo 2).
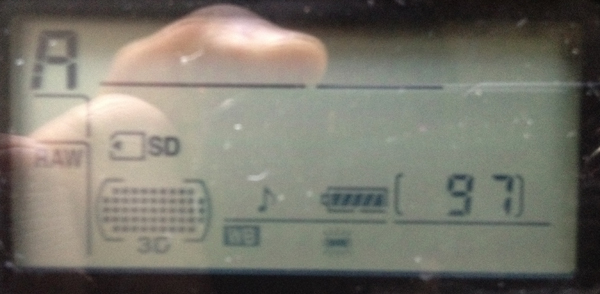
photo 1
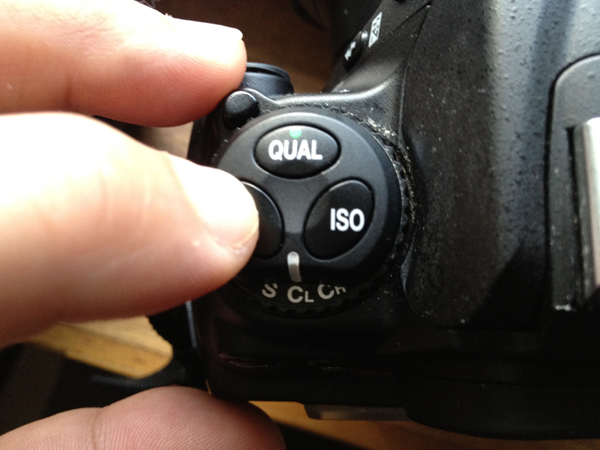
photo 2
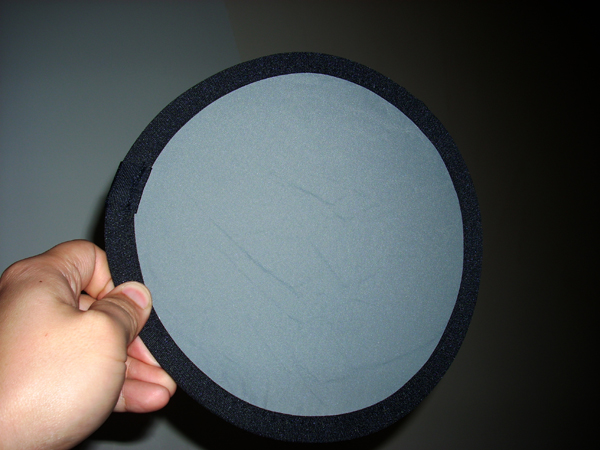
2. Secondly you hit the WB button until you see the letters PrE come up to the top left of the PRE (photo). That means the D300s is ready to take a reference shot. Take a shot of your white balance card by holding it in front of the lens. It doesn't need to focus. What the camera is doing is taking a metered reading of the light reflecting back off the card and internally assessing the grey according to algorithms that are too complicated to get into here.

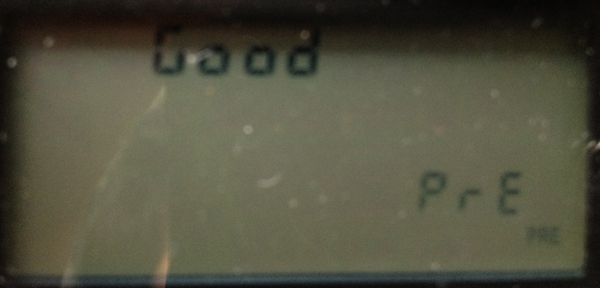
3. When you take a reference shot, the menu LCD display will either tell you "No gd" if your reference shot was unacceptable to take a white balance reading or it will read "Good" if it registered the reference shot. (photo). Then you can proceed to start taking photos.
Keep in mind that if the light changes or you move from your designated area into an area where the light is different, take another reading.
Now, I'm going to go look into finding ways of getting D300s menu system screencaps so that I can put up tutorials. Have fun. Happy Shooting.
O I C what you did there....Duhh! Lol! Good tutorial, but your right, clearer shots of your menu would be helpful.
ReplyDelete