This site doesn’t allow pinning to Pinterest or posting of any content by secondary parties to Facebook or MySpace. Any infringement of copyrighted property will be met with a) a Digital Millennium Copyright Act takedown notice, b) a bill for usage of any images and c) a potential lawsuit for copyright infringement. Spam comments will be deleted (links to other services not related to photography are not welcome in this blog; please e-mail me prior to posting a comment containing such links. I do not support any links to secondary photography services that do not offer customer service guarantees). Please contact the owner with any questions. Thanks for visiting!

Thursday, March 28, 2013

Noise Reduction with Neat Image

One of the most useful programs that I have found with regards to reducing noise in images is this little program: Neat Image. Utilizing it for reducing the noise in my imagery has been one of the saving of quite a few images that would be unuseable due to noise.

This program is reputedly one of the best noise-reduction programs on the market. As I am mostly utilizing this for personal use, I have opted at this point to use the free-ware demo program. Check them out at Neat Image.com. If you are planning to use this for commercial use, I would suggest that you purchase the program because it is probably one of the most effective anti-noise programs out there. You can see exactly what it has done in these two images that I took of the moon out at Iona Beach last Sunday.

Image without noise reduction:

image with Neat Image noise reduction:

Notice how the second image looks much smoother and crisper. The image above that looks grainy and pixellated. Now note this doesn't do anything for an image that is small in size. For best effect, you have to use it on an original size image (anything from 1500px width up).

I would have to say Neat Image has saved a number of my images that I've taken at dusk, mainly because my camera has pushed high-ISO (High-ISO in a DX frame camera will be useable but grainy straight from the camera). This program is essential for any photographer.

Monday, March 25, 2013

The Japanese Internment at Hastings Park

My wife had an assignment in Linguistics. And she asked me if I could drive her up to Hastings Park. Well, as it stood, we managed to get out there and find the Livestock Building that was the place that people like my mother, my grandmother and grandfather as well as my mother's brothers were kept until they were shipped out to Slocan. It brought home to my wife just exactly that this was "family history" and she realized just what taking my family name really meant. The fact that she was doing this for her linguistics class made me appreciate my wife even more.

Images from iPhone 4s

This must not be something that we forget.

Saturday, March 23, 2013

Stolen Photos

We all think that it can't happen to us. That our photography doesn't fit the criteria of a photo that could be stolen. In a ways, having one's photo stolen means that someone thinks your photo is good enough to steal. But even so, there is the annoyance that you wish that they would have asked permission and paid for the usage of the photo infringed upon.

Just recently I have found several photos on a Russian website, Fotki.ru after applying a Firefox browser app that searches out copyright infringement. I've been rather wary of my images getting stolen after having had a webcrawler farm my images way back in early 2012 and having to send several cease and desist DMCA-takedown letters saying "remove my photos from your site or else". Instead, I have decided to expose those users.

I have photos of the infringed photos on the Fotki.ru site and the .exif off the images still retains my copyright information on the .exif data.

The stolen photos are available at this site:
http://img-fotki.yandex.ru/get/5707/salout.25/0_716b1_6435d4a4_orig.jpg - Stolen Photo1
http://img-fotki.yandex.ru/get/5708/salout.25/0_716b3_2779be0d_orig.jpg - Stolen Photo2

Secondly I have also found a site in Indonesia on Blogger mirroring at least 85% of my blogposts. This site "http://holidayatbeaches.blogspot.com" has been removed by Blogger. I can't remember if Blogger found it contravened copyright, whether I found it and send a DMCA takedown or whether one of my readers recognized a post and notified Blogger on my behalf, but anyways it was removed. However the infringement still remains as the links are still accessible by Google and the infringer still gets hits on that blog removed or not.

Here are the original blog posts directly from my blog "Maniac With Camera":
http://maniacwcamera.blogspot.ca/2009/11/celebration-of-sams-life.html
http://maniacwcamera.blogspot.ca/2009/11/weather-photography.html
http://maniacwcamera.blogspot.ca/2009/11/lest-we-forget.html
http://maniacwcamera.blogspot.ca/2009/11/gorgeous-travel-photography-of-edward.html

And here is the search that came up when I "Google'd" the perpetrator. Essentially plagiarizing my posts and then profiting off them on a blog; I'm not happy about it.

Since I will be posting the to the perpetrators themselves. This next message goes out to you, Puji Leksana, and to the perpetrator who stole my two flower photos. "Take the photos down and remove ALL links to them. The fact that you could try to make money out of my photos which are my property as well as utilize my deceased cat to generate hits on your blog, Puji, is beyond reprehensible. You have 72 hours from the time you receive this message. I will not hesitate to bring legal action against you if you refuse."

Tuesday, March 19, 2013

My Wildlife Photography Kit.

I wanted to give people an idea of the gear that I currently use to obtain the images that I currently do. With the limitations in range that I have to contend with with my gear at this moment, the two factor that come into play are the following: a) location. b) opportunity. The trick is finding the "location" that maximizes "the opportunity" for potential wildlife shots.

First of all, I'm going to go over my gear: This is what I currently use to get the shots that I get. A lot of those shots that I take with the current gear that I have, I have to crop into because the range isn't there to get the shots that I'm really looking for. But I can still get a useable 8x10 image out of them.

The first piece of gear is my DSLR. I currently shoot with a Nikon D300s. Brought out in July of 2009. It made a splash being the first semi-pro camera to be equipped with video. Even at 720p, this video capability was nothing to sneeze at. And the ability to put any Nikon AF lens on the camera and obtain focal range while shooting video was an amazing achievement. This opened up a new video ability for still shooters to be able to capture the essence of the photoshoot. I picked up my D300s in June of 2010, about an year after it's release, but I have yet to put the D300s through its paces shooting video and that's mostly because I don't have a basic video editing program like Adobe Photoshop Premiere Elements. I hope at some point to be able to take the D300s out and shoot some video to post up on YouTube to give you an idea of the things that I do to track raptors and large wading birds (which are my main photographic subject). With only 11,000 frames shot through this camera, the D300s is not long in the tooth in terms of usage on my part. However eventually, I will have to get a new body (I still don't know if I will maintain DX if they don't come out with a Nikon D400 or go full frame and buy a Nikon D4 - or whatever replaces the D4) and relegate the D300s to a backup body.

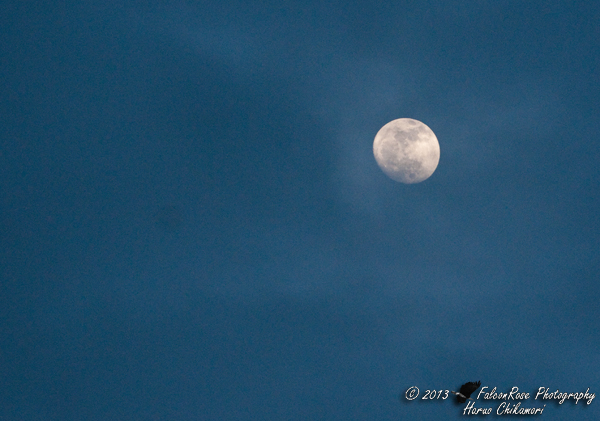
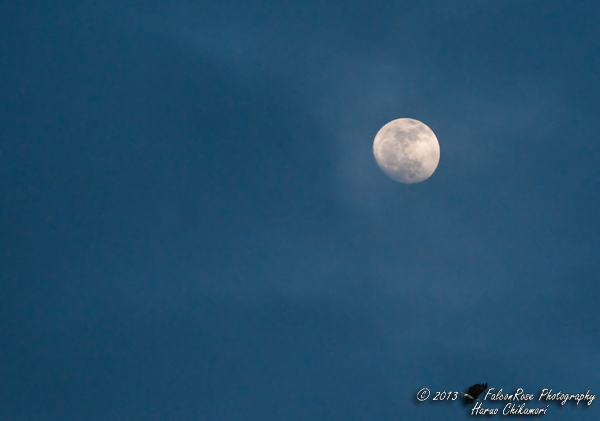
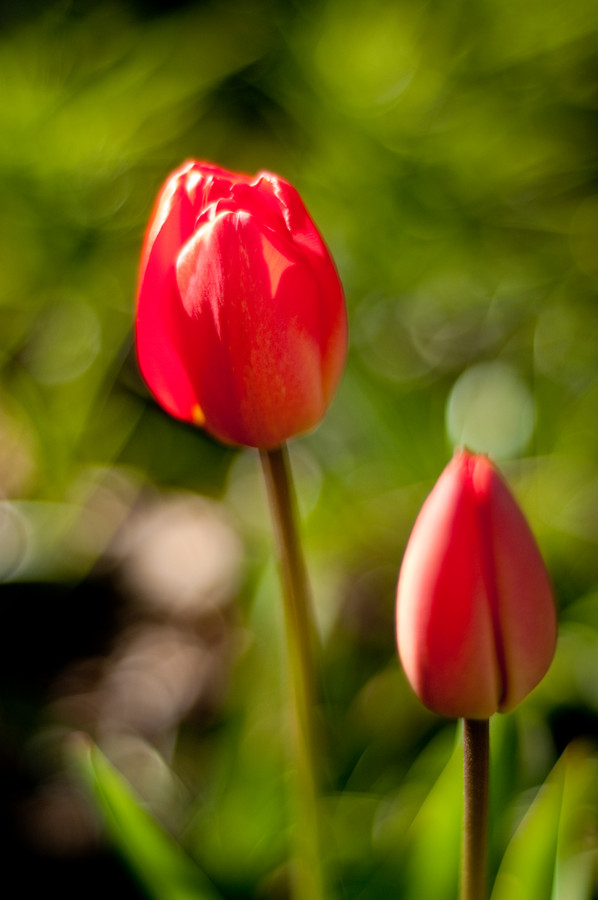
I want to talk about my main lens for wildlife photography since it is the only lens that I have for wildlife photography at the moment. This is my Nikon AF-S 70-200mm f.2,8 VRII G ED. This lens was announced by Nikon in July of 2009 and I got my copy of the 70-200mm in June of 2010 at the same time as I picked up my D300s. The range is short and I find that lack of range sorely taxing when I am out photographing my subjects. I also do have a AF 70-300mm f/4-5.6 G lens, however the slowness of the autofocus rules that out for shooting wildlife photography, unless you are shooting wildlife portraiture where the subject is standing still. Shooting raptors is not like shooting portraiture where you can ask the subject to move in closer or strike up a pose. But rest assured, you can still get the shots you're looking for if you are willing to compromise on shooting locations and backgrounds. The plus side of the 70-200mm f/2.8 VRII is the speed that you get wide-open on the lens enabling you to capture birds in flight and that is why I favor that lens over the extra 100mm in range of the slower 70-300mm lens. The other factor is that the AF is quick to lock on to the subject and the results are crisp and sharp. Ultimately, I plan to add a set of teleconverters to this lens to bring it out to its maximum range of 400mm f/5.6 (utilizing the TC-20EIII) and adding a Nikon AF-S 600mm f/4 VR to the mix of lenses and that will increase the versatility of my wildife photography kit. But in the meantime, I will work with what I currently have. The 70-200mm f/2.8 VRII is no slouch of a lens and these are the shots that I have taken with it.

For those of us who don't have the money to buy prime super-telephoto lenses in the range of 400mm to 800mm. My verdict on the 70-200mm lens bare (without teleconverters) for wildlife is that you have to know what you are doing with it, pick and choose the location that will give you the prime opportunity to get the shots you want and it will come through every time!

Monday, March 18, 2013

Tack Sharp Vs. Blur

At what point do you figure motion blur affects your photo?

This has been a question that has plagued photographers for ages. There's the camp that states that all photos have to be tack sharp, not an edge out of focus on the subject. Then there are those who say that blur is acceptable especially when it adds to the appeal of the photo. But when does it add to the appeal of the photo? And that is the question that needs to be answered.

This is a shot that I would term as unuseably blurry. The image is of three blurry hockey players. It adds nothing to the image. The background is completely blurry and there's no other rectifying aspect of this image as the action is blocked by the bodies of the players.

This is what is known as a "tack sharp" image. The image is not soft, the focus is on the face of the player and the player is moving directly towards the camera. No lateral movement means that there is no movement to the sides that would trick the focus of the image.

This image is not tack sharp. This image is as a result of a panning motion with the D300s/70-200mm f/2.8 VRII. But what it does add is horizontal blur panning from left to right. Because the skates were moving quicker than the panning motion of the camera, the skates are a blur, as is the background. But the saving grace of this image is the fact that the action is right there in front of the photographer, the puck is in view, the speed of the skater and the pace of the game is noticeable.

The problematic point of photography is that most photographers come at the photographic art form with the mindset of the "portrait photographer" saying that photographs are not perfect unless they are tack-sharp. So where does that put the action photos that capture the pace of a game? Are all sports photographs not acceptable unless they depict a moment "frozen in time" the baseball and the pitcher all frozen with the ball suspended in air "tack-sharp"? Unless one captures the pace of the game, there is no true capture of the game.

Happy Shooting!

Friday, March 15, 2013

Brief Stop at Serpentine Fen Today.

Coming back from the lawyer's office today (nope, it's not anything to do with "stolen photos" or anything copyright related) I paused for about 10 minutes over at Serpentine Fen with the iPhone and took a couple of photos with it. It isn't a camera phone that you can use to "sell" photos with, but camera phones are great for documenting where you've been for web-use. Here's the two photos from today.


One of these days, I have to go back with the D300s and 70-200mm f/2.8 VRII. Hopefully by then I'll have the TC-20EIII to enable me to get up to at least 400mm range.

Tuesday, March 12, 2013

Nikon's New 80-400mm f/4.5-5.6 G ED VR

This lens is a wildlife lens. The extra-dispersement components help the photographer get crisp sharp images as seen on the Nikon Sample Images site here. The lens is a replacement for the Nikon AF-S VR 80-400mm D ED-IF lens that Nikon had brought out over 12 years ago. This was a lens for wildlife enthusiasts which was sorely in need of replacement. This new lens does that and more. If I can get my hands on a copy to test shoot in the store, I'll be able to fire off a few frames to see just how responsive the lens is. But for a price tag of over double the current cost of the D version; this is not a lens that the ordinary enthusiast will buy just off the whim. The lens is sturdily built and like it's predecessor, it's built like a tank and for steady shots, it would be adviseable at longer ranges to put it on a tripod. At $2699.99 for a copy of this lens, it isn't the quality of the lens that will put off buyers, but the price tag itself. All in all, it will be determined by how much you enjoy wildlife photography that will be the driving force for sales of this particular lens at this price range. Considering I have the Nikon AF-S 70-200mm f/2.8 VRII, I'd much prefer to put on a TC-20EIII and get a 140-400mm f/5.6 that is handholdable versus the variable aperture 80-400mm, but that is my own viewpoint. Your mileage may vary.

March 9, 2013 - Medal Game for Power Play Hockey.